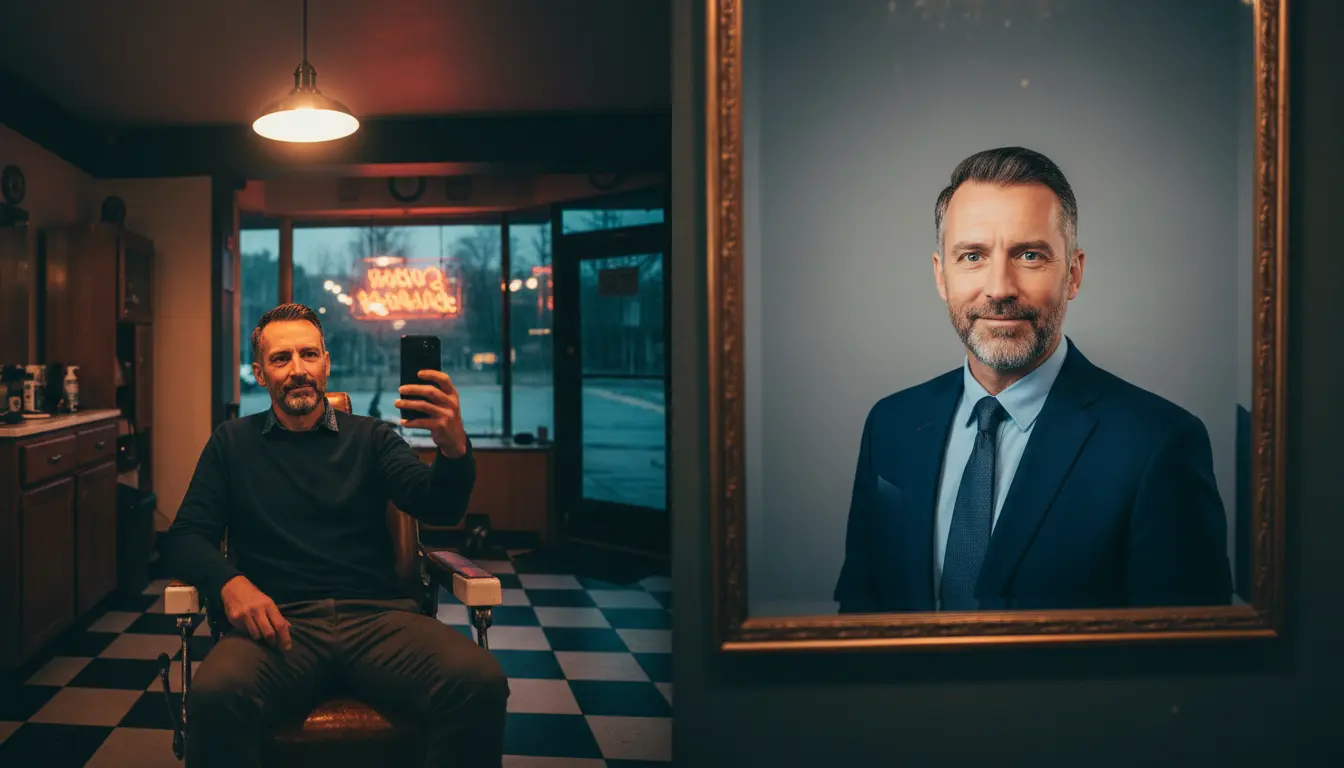
Why image AI understands "85 mm at golden hour"
Here is how image AI works, in one paragraph. The model starts from a field of random noise and removes it, step by step, until what is left matches the words you gave it. It learned to do that by looking at millions of real photographs with their captions, so it has seen a lot of pictures described as "85 mm portrait lens" or "soft window light" or "overcast afternoon". It knows what those phrases look like, which means the vocabulary of photography is the vocabulary that gets you good results.
That is the whole trick. "A stunning, gorgeous, beautiful professional photo" tells the model almost nothing, because those words describe your opinion, not the picture. "85 mm, f/2, soft key light from the front-left, natural skin texture" describes the picture.
Generators versus editors (and why realtors should edit)
There are two kinds of image tools, and the difference matters more for you than for almost any other profession.
- Generators make a picture from text alone. Ask for "a realtor in a modern kitchen" and you get a confident, well-lit stranger.
- Editors take a real photo and change part of it while keeping what matters, which for you is your face.
For real estate agents, editing beats generating almost every time. Your face is your brand. The buyer who meets you at the open house should recognize the person from the profile picture, and a client should never be shown something that does not exist. That rule applies to you, and later in this post it applies to the house as well.
Most 2026 tools can do both. The editing mode usually looks like "attach a photo, then describe what to change." That is the mode you want.
The six-part formula for a photo prompt
A good image prompt is built the way a photographer sets up a shoot. Six parts, in roughly this order. You do not need all six every time, but when a result looks off, the missing part is usually the problem.
1. Subject
Who is in the frame, with specifics the model can hold onto. Not "a woman" but "a 40-year-old woman with curly auburn hair, navy blazer". When you are editing your own photo, the subject is mostly handled by the attachment, so this part becomes "keep this person exactly" plus the outfit.
2. Setting
Where the photo was taken. "Modern kitchen with white oak cabinets and a marble island" gives you a kitchen that looks like a listing. "Nice kitchen" gives you whatever the model feels like.
3. Lens and camera
This is the part most agents skip, and it is the part that makes the photo look like a photo. "85 mm portrait lens, f/1.8, eye level" produces a sharp face and a softly blurred background. "35 mm" pulls in more of the room. "Eye level" keeps it honest; "slightly above" is more flattering and more social-media.
4. Light
Where the light comes from and when. "Soft window light from the left, late afternoon" is warm and natural. "Overcast, even light" is safe and forgiving. "Studio key light from the front-left with a subtle catchlight" is the classic headshot look. Pick one time of day and one light source. Mixing "golden hour" with "midday sun" confuses the model and the result looks fake.
5. Mood
The emotional read. "Calm, warm, natural skin tones." "Confident, approachable." Keep it to two or three words.
6. Style
The genre of photograph. "Editorial real estate photography, no retouching look" is the sweet spot for agents: polished, but clearly a real person. "Corporate headshot" reads stiff. "Glamour" reads like a dating app.
The headshot prompt (copy this)
Take one clear photo of yourself first. Phone camera, daylight, face toward a window, plain-ish background, no sunglasses, no hat, shoulders in frame. It does not need to be good, it needs to be clear. Then attach it and paste this.
Using the attached photo, keep this person's face, hair, skin tone and body exactly. Create a professional real estate headshot: {{navy blazer over a cream top}}, {{soft grey studio backdrop}}, 85 mm lens, f/2, eye level, soft key light from the front-left with a subtle catchlight, natural skin texture, warm confident smile, shoulders slightly angled. Editorial, no beauty filter. Square crop.
Swap the two placeholders for your own outfit and backdrop and leave the rest alone. The lens, the light and "natural skin texture, no beauty filter" are doing the heavy lifting.
Photographer vocabulary for the look you want
When you want to steer the result, borrow these phrases instead of adding adjectives.
- Blurred background portrait: "85 mm, f/1.8, shallow depth of field, subject sharp."
- Realistic skin: "natural skin texture, no beauty filter, slight catchlight in eyes."
- Magazine look: "editorial, muted palette, subtle film grain."
- Bright and approachable: "soft window light, airy, neutral white balance."
The consistency rule
Every time you make a new image of yourself, attach the same clear reference photo (or your finished headshot) and open with the same sentence:
Keep this person's face, hair and body exactly. Change only {{outfit / background / pose}}.
Consistency is what makes a set of photos look like one person's brand instead of four cousins. The reference photo is the anchor; the "change only" clause tells the model where it is allowed to be creative.
What to avoid
- Stacking adjectives. "Beautiful stunning gorgeous professional" adds nothing. Replace with a lens and a light.
- Text inside the image. Models still mangle letters. Add your name and logo afterward in a design tool.
- Mixing two lighting times. Golden hour or overcast. Not both.
- Negative lists, when the tool accepts them. Many tools have a separate field for what you do not want. Use: "no extra fingers, no warped walls, no text, no watermark, no plastic skin."
From one headshot to a full lifestyle set
Once the headshot looks right, you have a reference image that the model can carry into other scenes. This is where agents get the most value, because a single blazer-on-grey headshot does not cover a Story cover, a feed post and an about page. A set does.
Attach the finished headshot and paste this.
Keep this person exactly. Create four photos: (1) walking down a tree-lined residential street holding a coffee, 50 mm, golden hour, candid mid-step; (2) leaning on a modern front door with keys in hand, 35 mm, overcast soft light; (3) at a kitchen island reviewing documents on a tablet, 35 mm, window light; (4) in front of a "For Sale" sign on a lawn, 50 mm, morning light. Same outfit in all four: {{navy blazer, white tee, dark jeans}}. Natural, editorial, no text on signs.
If your tool only returns one image per request, run it four times and change only the scene. Keep the outfit sentence identical each time so the set hangs together.
Sizes that fit where they are going
Resize after you generate, or ask for the crop in the prompt.
- Headshot and profile picture: 1:1 at 1080 x 1080. Your face should fill about 60% of the frame, because profile circles are tiny.
- Instagram feed: 4:5 at 1080 x 1350. Leave room above the head.
- Story and Reel cover: 9:16 at 1080 x 1920. Keep your face in the middle third so the UI does not cover it.
The honesty note
If a client asks whether your photos are AI, tell them. People do not mind that you used a tool. They mind being misled. The rule is simple: the face is real, the scenes are styled, and nothing about a property is invented. That is no different from a photographer picking a flattering angle, and most clients find it mildly impressive.
The no-prompt way
If you would rather not learn lens language at all, Agentree's AI Studio has this workflow built in. Avatar Studio makes a polished portrait from one phone photo, Photoshoot turns that headshot into an editorial set, and Photo Studio offers 159 outfits and settings with no conflicting combinations to fight with. No prompt box. The results drop straight into your Agentree page and carousel templates, which fixes the second half of the problem: having a new headshot and nowhere consistent to put it.